iPhone devices have come to carry powerful features in the world of cameras every year, and this time with the iPhone 13 series, Apple has provided us with the Cinematic Mode feature for iPhone photography, which we will talk about and the best way to benefit from it in this article. Phone companies are trying to reach the closest point with their phone cameras compared to professional cameras, from a different focal length, which the companies tried to implement with multiple cameras and their functions, to the variable lens aperture, which Samsung presented to us with the S9 and S10 series, to the larger sensor sizes, which have now reached 1 inch in phones such as the Xiaomi 12S Ultra and Sony Xperia Pro-I, and this time with Apple, which tried to turn to artificial intelligence to provide a whiff of camera features. Professionalism is the isolation feature in video, and it is the focus of our conversation with the Cinematic Mode feature.
What is the advantage of cinematography on the iPhone?
The cinematography feature provides you with continuous isolation while shooting video, meaning isolating and blurring the background and providing greater depth to the image between the subject to be photographed and the background with its elements. It is somewhat different from the background blur feature in some applications. This feature is difficult to implement physically or by cutting the camera's hardware due to the small sizes of the phones, which provide us with small sizes for lenses and camera sensors compared to professional cameras, so Apple tried to introduce the cinematography feature on iPhone devices through artificial intelligence.
Steps to use Cinematic Mode on your iPhone After opening the Camera application on your iPhone, you will find Cinematic Mode among the multiple photography modes such as video, photos, portrait, and slow-motion photography. Swipe up with your finger on the word Cinematic in the middle, to show you several options related to the cinematic photography mode. Turn on the flash (you can find it on the left side) and Exposure mode (you can find it in the middle), through which you can adjust the video exposure to light so that the elements appear light or dark according to your needs.
The Depth Control insulation adjustment mode (found on the right side) offers you different degrees of insulation strength, starting from 2 with the lowest degree of insulation to 16 with the strongest degree of insulation. You can use the main camera, the 3X optical zoom camera, and also the front camera to shoot with the video isolation feature. You can manually control the focus point on the element in the video, and you can also set the video to focus on a specific element throughout the video by pressing on the element once to focus and then pressing again to lock the focus on this element by Focus Tracking.
Editing the video after filming it. Apple allows you to edit cinematography videos after filming them, which is excellent. By going to the video and clicking on Edit, you will see some of the familiar options that we talked about above. You can change the isolation strength if you want to change it after capturing the video. You can also change the focus in the video on different elements by clicking on the element only, in addition to the various effects of filters, changing the lighting intensity, and other features in the iPhone camera application. Related article: The 7 best applications for learning mobile photography 3 important points for cinematography for better results Certainly, the feature of cinematography with iPhone devices, as we mentioned, depends on software and artificial intelligence, so it must be provided with the best possible conditions to obtain good results.
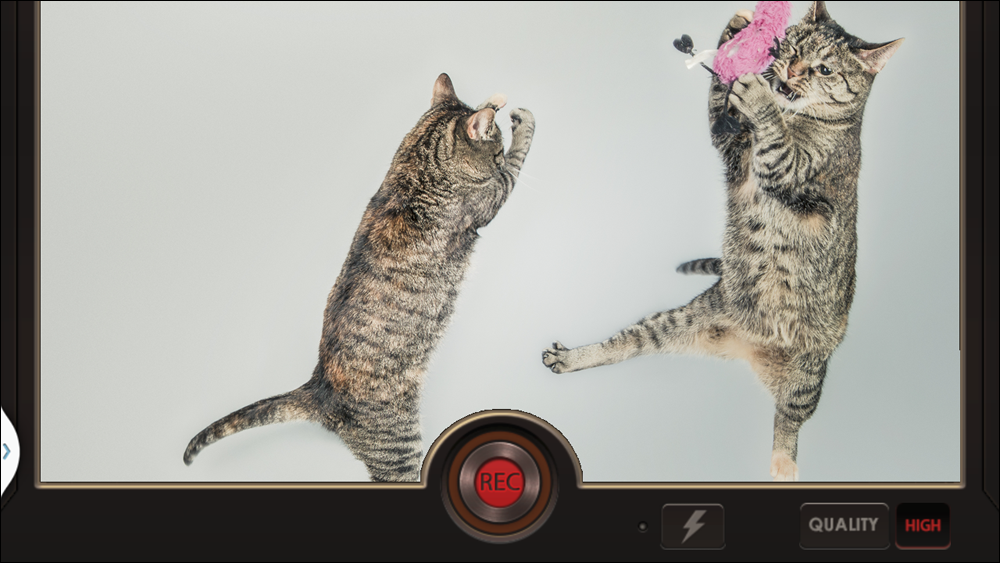
Sufficient light in general: The amount of light is the most important element for photography in general to provide distinctive images and videos, especially during cinematography, because the light works greatly to clarify and make the elements appear so that the phone works to identify them and isolate them from the background well. Do not perish artificial intelligence! You can greatly help your phone by placing it in good scenarios or conditions. Do not shoot with the video isolation feature in difficult conditions, such as strong sunlight in the background, or photograph a subject with thick, unruly hair, such as an animal.
Do not exaggerate the use of isolation. In the end, video isolation, as we said here, is done electronically through software, and your phone cannot actually feel the depth of the image compared to professional cameras. Therefore, do not exaggerate the percentage of isolation in video, and try to keep it average, close to 8 to 4, and stay away from large numbers such as 16, which show the isolation in a huge way, which results in showing more defects in the isolation of the element in some areas. However, with medium isolation, it will be difficult to notice any defects in the insulation, and you will find that the video gives you A distinctive and different character from regular videos.
Will the cinematography feature be available for my iPhone?
Unfortunately, Apple has only made the cinematography feature available on iPhone devices for the iPhone 13 series so far, but if you are on iOS 15 or higher, you can edit cinematography videos on some phones such as the iPhone XR and iPhone XS and above. Read also: How to make a slow motion video on your phone and does it support this feature?
DROPIDEA
We hope this article has added real value to you. At DROPIDEA, we always strive to deliver high-quality content that helps you grow and evolve in the digital space. Follow us for more useful articles and guides.
Admin
DROPIDEA
Latest Articles

Microsoft Gains $3.2 Billion from Its Investment in Anthropic

Zuckerberg: Billions of People Will Have AI Assistants Within Five Years

Microsoft Enters Direct Competition Against OpenAI and Anthropic

Pangram Raises $9 Million to Detect AI-Generated Content